How to Extract Data from a Resume into Google Sheets using Zapier in 5 minutes
- Ilia Zelenkin

- Nov 3, 2023
- 2 min read
In this guide, you will learn how to use Zapier and Bitskout to extract data from a CV and automatically transfer it to your Google Sheets. This process is ideal for managing large volumes of CVs during the hiring process. By following these steps, you can save time and ensure all necessary data is organized in your Google Sheets.
Video Instruction
Step 1: Set up the Trigger in Zapier
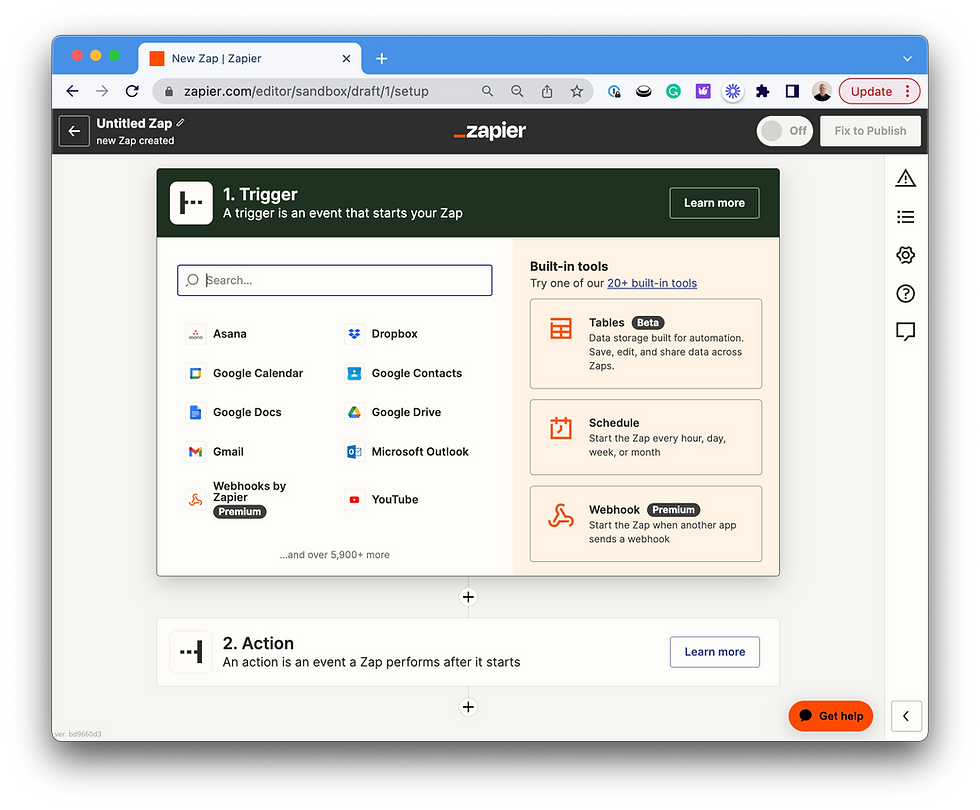
In Zapier, create a new trigger called "New File in a Folder." This way Zapier will start the automation when you upload the file to this Folder.

Select the folder where your CVs will be saved in Google Drive.

Run a test to ensure the trigger is working correctly.
Step 2: Connect Bitskout
Choose the Bitskout action called "Extract Data from CV" in Zapier.

If your Bitskout account is not connected, then add an account and provide the API key. Bitskout API keys are in your Profile in Tokens and Passwords tab. You will need to generate the key.

In the file URL field, select "File exists but not shown." This ensures reliable file selection. - Continue to the next step.

Perform a test to allow Zapier to understand the data being extracted. - Wait for the test to finish.
Step 4: Map Data to Google Sheets
Create a new spreadsheet row in Google Sheets.

Select your Google Sheet for data mapping.

Use the fields provided by Bitskout to map the extracted data. Add any additional fields as needed.

Run a test to ensure the data is correctly mapped to the Google Sheet. You should see the data in your Google Sheet.
Your Zap is now ready to be used. Now you can drop as many CV files as needed into the designated Google Drive folder. Bitskout will automatically extract the data and write it to your chosen tool, such as Google Sheets. Don't forget to publish your Zap to enable it.
Conclusion
By following these steps, you can easily extract data from CVs and transfer it to Google Sheets using Zapier and Bitskout. This automation saves time and ensures accurate data organization during the hiring process.


Comments